Roles and permissions in enterprise
Members, permission, and more
~10mins estimatedInviting members to an organization
There are two different ways in the Snyk UI to invite members to an organization. You can invite by entering the email addresses or add existing members in a group to this organization.
Determine Ignore Strategy
Snyk recommends a best practice of fixing, patching, or removing vulnerable dependencies whenever possible.
However, sometimes it is necessary to ignore an issue. Ignoring an issue helps prevent it from reappearing in your Snyk tests, either for a set period of time or permanently. You can also ignore issues to prevent them from failing builds in the CI/CD process.
For example, if an issue doesn't currently have a fix, you may want to ignore it until it does. Or if an issue has a path that makes it non-exploitable, you may postpone fixing the issue for a certain period of time. Sometimes as a matter of prioritization, you decide to postpone certain issues so that your resources can focus on more critical issues.
Whatever the reason for ignoring an issue, you will want to define how ignore policies are applied to projects in your first organization.
Define Ignore Permissions
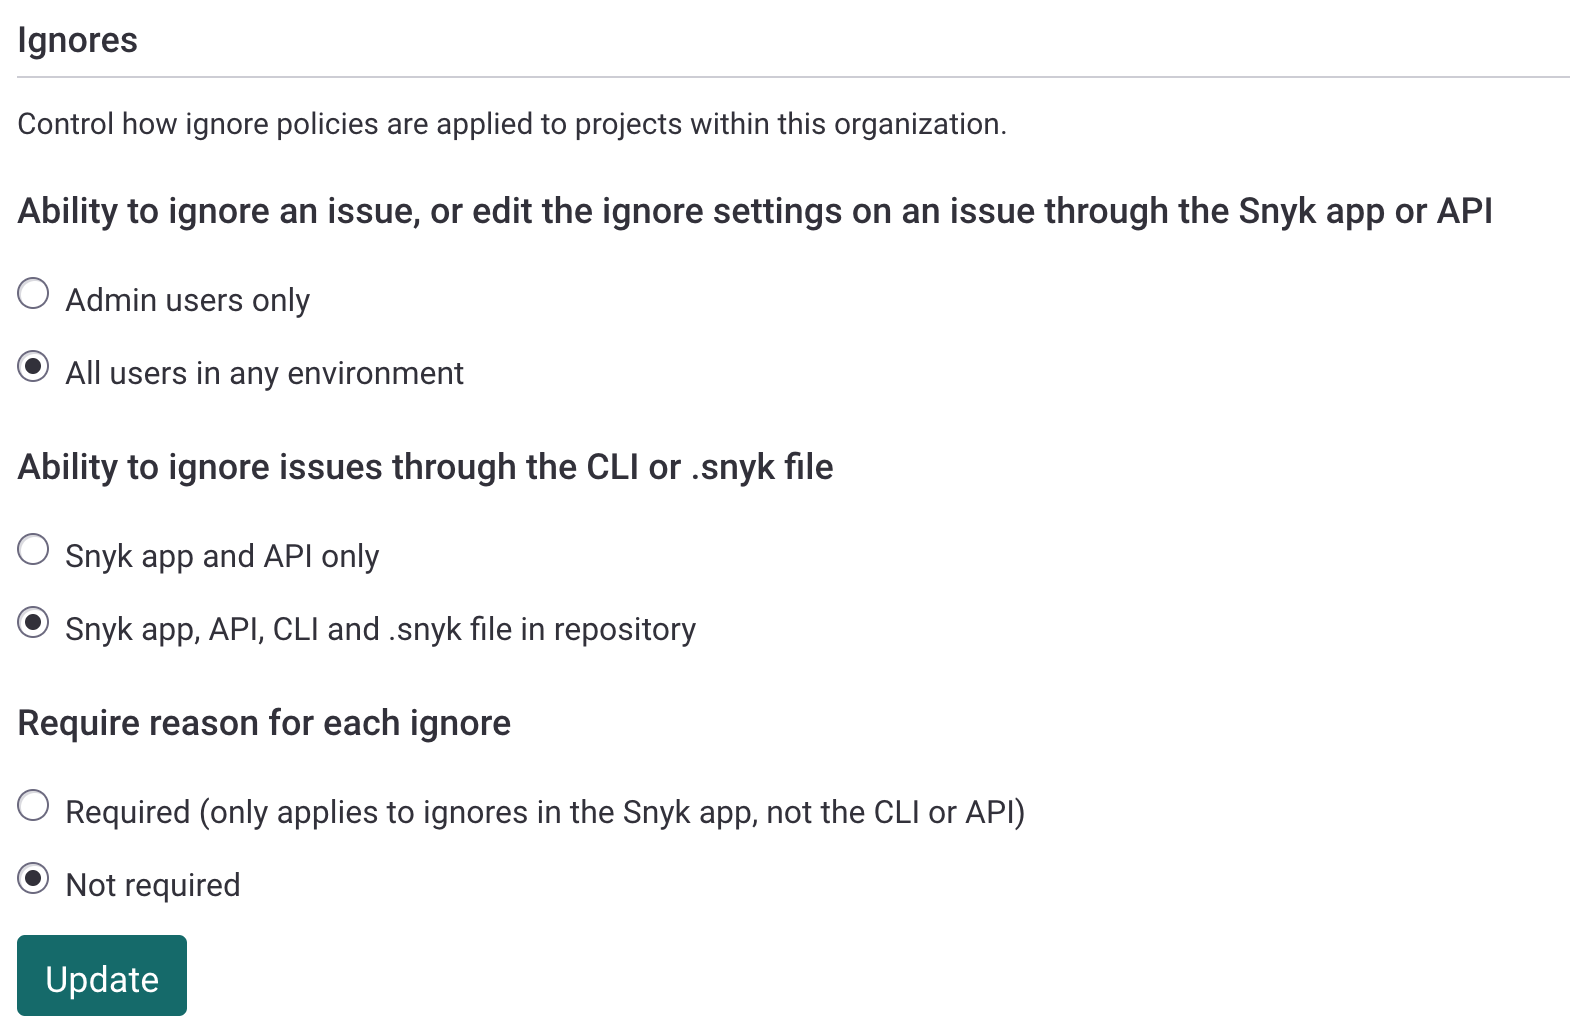
To indicate who can ignore issues within the organization and whether they must enter a reason, complete the following steps:
- Select the Settings icon from the organization you want to update
- On the General tab, scroll down to the Ignores section
- To limit permissions for ignoring issues, select Admin users only. Note that none of your organization members will be able to ignore issues using the CLI or API. The org admin will have to ignore issues using the Snyk web app. Otherwise, select All users in any environment
- Select whether to require a reason when ignoring an issue
- Select Update

Introduction to Member Roles
Enterprise feature
The Member roles feature is available with Enterprise plans. See pricing plans for more details.
With Member roles, you can customize permissions for different types of Snyk users. In this section, we'll discuss some different use cases for member roles and the steps for duplicating, creating, assigning, and deleting member roles.
Use existing role as a template
We recommend starting with an existing role (by duplicating it) and changing the permissions as you are learning to work with Member roles and customized permissions.
Create a member role
When you want to completely customize the permissions for a role, you can start from scratch with the Create role option.
Delete a member role
Deleting a Member role takes into consideration the users and service accounts that are assigned to that role.